
Parenting Products
Tired of Leaky, Hard-to-Clean Lunch Boxes? How to Pick Kids' Containers
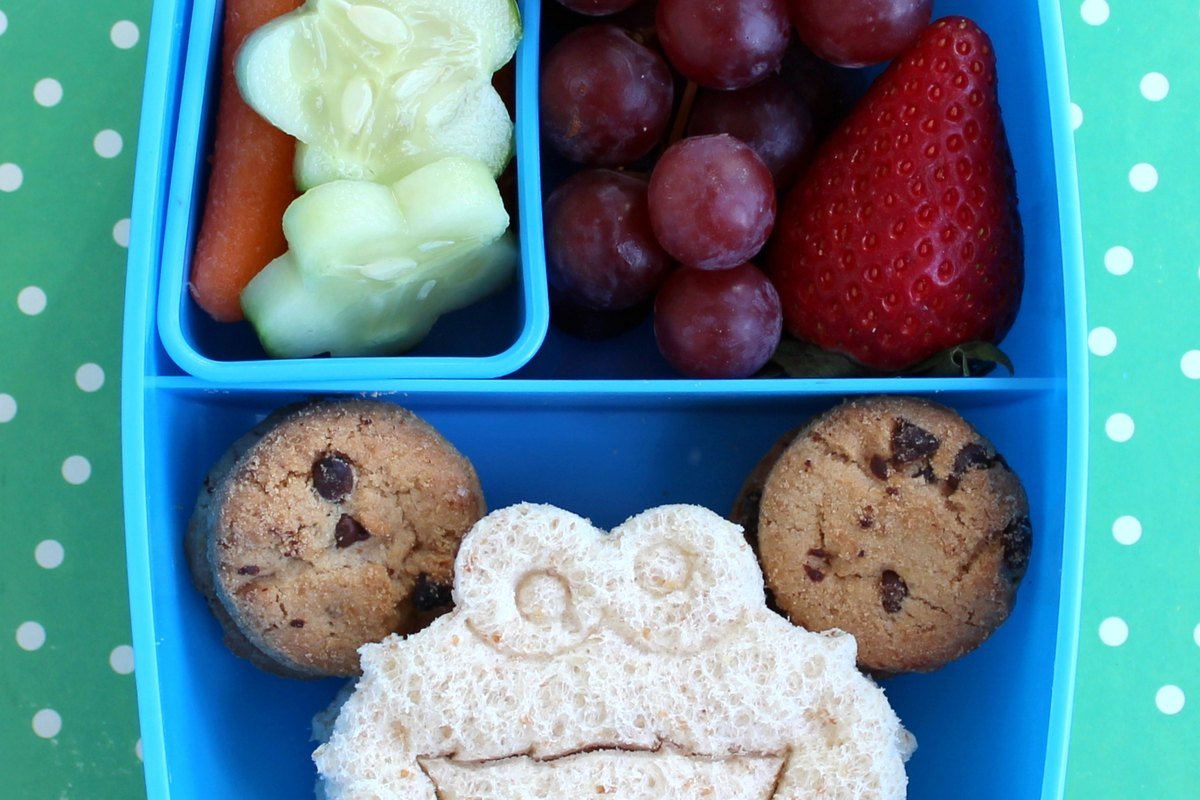
How to choose kids’ lunch containers that don’t leak, are easy for small hands to open, clean thoroughly, and keep food at a safe temperature until lunchtime.
8 min read
A good lunch container does three jobs: it gets food to school without leaking, your child can open it without help, and you can clean it completely at the end of the day. A fourth job matters just as much and is easy to forget: keeping food out of the temperature range where bacteria multiply. Start with your child’s routine, then compare designs, then test at home before the first school day.
Start with your family’s real use case
A preschooler with a short lunch period may do best with one easy latch and familiar finger foods. An older child who wants a warm meal may prefer an insulated food jar plus one small snack container. Ask a few questions before you shop:
- How long is the lunch break, and does your child eat quickly or slowly?
- Is there a refrigerator or microwave your child can use? (Most schools don’t offer either.)
- How many hours pass between packing and eating?
- Does your child need to open everything independently?
- Are there school rules about nuts, glass, or disposable packaging?
Understand the main types
Compartment bento box. Keeps several dry or semi-moist foods separated in one footprint, which suits children who don’t like foods touching. Many are not designed for thin liquids.
Insulated food jar. A vacuum-insulated jar slows temperature change for soups, pasta, rice dishes, or chilled foods, as long as you preheat or prechill it as directed.
Modular containers. Separate small containers allow flexible portions and are cheaper to replace one at a time, though there are more lids to keep track of.
Food safety: keep cold food cold and hot food hot
USDA’s Food Safety and Inspection Service (FSIS) explains that harmful bacteria multiply quickly between 40°F and 140°F, the “danger zone.” Perishable food shouldn’t sit at room temperature for more than 2 hours, or 1 hour above 90°F. Lunches that sit in a backpack all morning need help staying out of that range.
For cold lunches
- FSIS says insulated, soft-sided lunch bags are best for keeping food cold.
- Pack at least two cold sources with perishable food: two frozen gel packs no smaller than 5 by 3 inches each, or one gel pack plus a frozen juice box or water bottle. Place them on top of and below the food.
- Prepare food the night before if that helps, but pack the bag right before leaving home. Freezing sandwiches can help them stay cold, though fillings like mayonnaise, lettuce, and tomato are better added fresh.
- Chill cooked foods such as pasta salad thoroughly in the refrigerator before packing.
Some foods are safe without a cold source, including whole fruits and vegetables, hard cheese, canned meat and fish, crackers, bread, and peanut butter, which makes them useful for long days.
For hot lunches
FSIS recommends filling an insulated container with boiling water, letting it stand for a few minutes, emptying it, and then adding piping-hot food. Keep it closed until lunchtime so the food stays at 140°F or above. Practice the routine at home first. Many children need help opening a jar that’s been sealed under heat. If your child can use a microwave at school, reheat leftovers to at least 165°F.
After lunch
FSIS advises throwing away leftover perishable food and used packaging after lunch rather than eating it later or reusing it. Packing only what your child will eat makes this easier and reduces waste.
Key criteria to compare before buying
- A capacity that matches your child’s appetite, the length of the lunch break, and the space in the backpack, with room for two cold packs if you’ll pack perishables.
- Latches and lids your child can open independently after a realistic practice run.
- Leak resistance suited to the actual food. Many bento dividers aren’t meant for yogurt, dressing, or soup.
- Removable seals and smooth corners that can be fully washed and dried.
- Materials and temperature limits clearly stated by the manufacturer, including dishwasher and microwave guidance.
- Replacement parts, such as lids and seals, that you can buy separately.
Test it at home first
Run a dress rehearsal on a weekend:
- Pack a typical lunch and weigh the full bag. Can your child carry it with the rest of their things?
- Have your child open and close every container at the table, without help, within a few minutes.
- Check for leaks: fill the intended compartment with the kind of food you plan to pack, close it correctly, set it on paper towels, and gently tilt it in several directions. Don’t test with liquid if the maker excludes liquids.
- Run it through your normal cleaning routine and see whether the seals and corners come completely clean and dry.
Our morning routine for busy parents covers packing the night before and adding cold packs on the way out the door.
Cleaning and care
- Empty and rinse containers as soon as they come home.
- Remove silicone seals regularly, as often as the maker recommends, and wash underneath, where food residue collects.
- Let every part air-dry fully before reassembling.
- Follow the maker’s dishwasher guidance. Some lids warp on the bottom rack or in high heat.
- Replace lids or seals that crack, warp, or no longer close tightly.
- Wash the lunch bag itself every week or so, and wipe up spills the same day.
Materials: stainless steel, plastic, or glass
No material is automatically best. Stainless steel is durable and doesn’t stain, but it can be heavier and usually can’t go in the microwave. Plastic is light and inexpensive. Use it only within the manufacturer’s temperature and microwave guidance, and replace it when scratched or warped. Glass is easy to clean but heavy and breakable, and some schools don’t allow it. The FDA’s consumer Q&A on BPA in food-contact materials is a reasonable place to read more if you have questions about plastics.
Containers to compare
These are examples of the main styles. Check capacity, age suitability, and the maker’s cleaning and temperature guidance against your child’s routine.
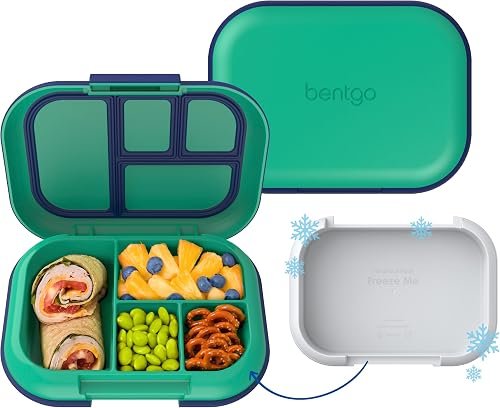 Bentgo Kids lunch box — A compartment-style option to compare for younger children who prefer separated foods.
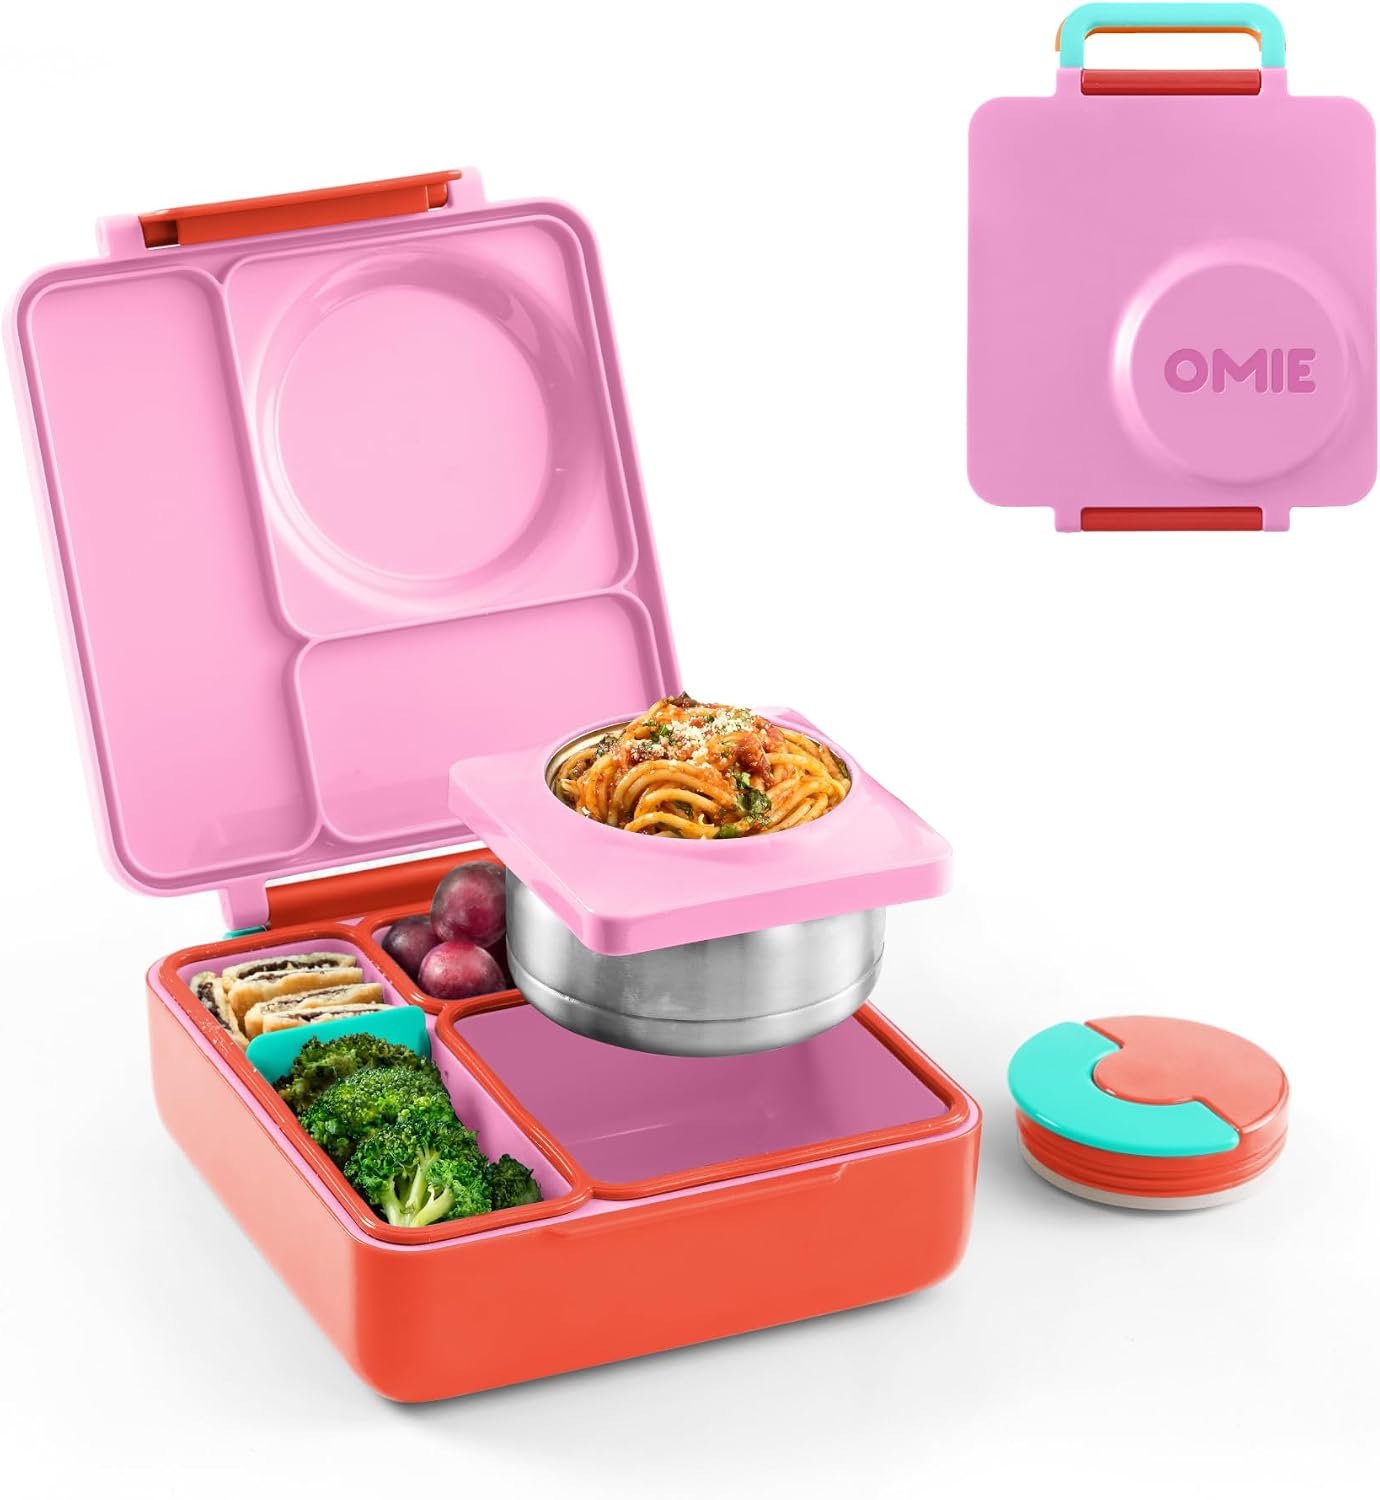 OmieBox insulated bento box — Combines compartments with an integrated insulated food jar for mixed hot-and-cold lunches.
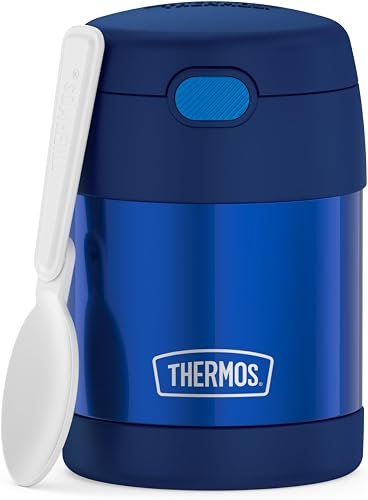 Thermos FUNtainer food jar — A standalone insulated jar to compare for soups, rice dishes, pasta, or chilled snacks.
What to pack
The container shapes the lunch. Compartments make it easy to include a mix: a protein such as beans, eggs, cheese, chicken, or hummus; a grain such as crackers, rice, or a wrap; a fruit; and a vegetable your child actually eats. If you’re planning the week’s food, our beginner meal-planning system shows how to turn dinner leftovers into lunches. For packaged snacks, our guide to reading a Nutrition Facts label helps you compare sugar and sodium quickly.
Common mistakes
- Assuming every divided lunch box is soup-proof.
- Buying an oversized box that becomes too heavy once it’s filled.
- Packing perishable food without two cold sources, or packing hot food in a jar that wasn’t preheated.
- Choosing latches a child can’t open, so lunch goes uneaten.
- Leaving silicone seals damp or in place with food trapped underneath.
Pack test before the school week
Kid-proof cleaning routine
Wash with hot soapy water after every school day when packing perishable foods. Open every gasket. Air-dry fully before the next pack. Once a week, deep-clean lids in a vinegar soak if odors linger—then rinse well. If a container still smells like last week’s yogurt, retire it.
If lunch still leaks or gets skipped
- Leaks every day: retire the container; seals that need babying will not survive mornings—compare criteria again, then see diaper-bag packing discipline for parallel “reset the kit” habits.
- Kids refuse the food: the box is fine; simplify the menu with a weekly meal system.
- Cleaning is the blocker: fewer parts beat clever compartments.
Frequently asked questions
Are stainless-steel containers always better than plastic?
No. Compare weight, durability, the manufacturer’s food-contact and temperature guidance, insulation needs, and how your child handles the container.
How many ice packs does a lunch need?
FSIS recommends at least two cold sources for perishable food, such as two frozen gel packs at least 5 by 3 inches, or one gel pack plus a frozen juice box or water bottle, placed above and below the food.
How do I keep soup hot until lunch?
Fill an insulated jar with boiling water for a few minutes, pour it out, then add piping-hot food and close it. It should stay closed until lunchtime.
How often should seals be cleaned?
Inspect them after every use and remove them as often as the manufacturer recommends, especially after oily, strongly colored, or perishable foods.
Key takeaways
- Choose lunch containers for seal reliability, cleanability, and how your child actually eats—not trends.
- Keep cold food cold with ice packs and insulated bags when needed.
- Test wash and leak performance at home before the school week.
- Replace containers that need perfect technique to stay leak-free.
Related reads
Sources
- USDA Food Safety and Inspection Service – Keeping “Bag” Lunches Safe
- U.S. Food and Drug Administration – Questions and Answers on BPA in Food-Contact Applications
- U.S. Consumer Product Safety Commission – Recalls
Medical disclaimer
This is general information, not personal medical advice, diagnosis, or treatment. A clinician should guide decisions about symptoms, medicines, vaccines, pregnancy, or children. In an emergency, contact local emergency services.
Affiliate disclosure. This article contains Amazon affiliate links. If you buy through a qualifying link, Full Healthy Lives may earn a commission at no extra cost to you. Product mentions are optional, not medical advice.